How to Make Miter Cuts Without a Miter Saw?
To make miter cuts without a miter saw, use a miter box with a hand saw or an adjustable speed square and a circular saw. A precise miter cut can be achieved with basic tools and the right technique, even without specialized equipment.
Crafting miter cuts without a miter saw is a handy skill for DIY enthusiasts and those with limited access to power tools. It requires patience and attention to detail, ensuring that even without the precision of a miter saw, angles can be cut accurately for frames, moldings, and various woodworking joints.
A manual miter box, often paired with a backsaw, provides pre-set angles for consistent cuts. Alternatively, a speed square or carpenter’s square, used in conjunction with a circular saw or even a handsaw, can guide cuts along marked lines. This method is not only cost-effective but also portable, allowing work on projects directly on-site. Mastering these techniques ensures that your projects don’t come to a halt for want of a miter saw, fostering resourcefulness in any building or crafting situation.
Introduction To Miter Cuts
Imagine framing a magnificent painting or constructing a charming dollhouse, poised to assemble the perfect corners—only to realize a miter saw isn’t within reach. The miter cut, an essential technique for any woodworking or DIY project involving angled joints, faces us with such a dilemma. But fear not, as even without the luxury of a miter saw, precise, clean cuts can be achieved. This clever approach to woodworking opens up a realm of possibilities, ensuring that your projects don’t come to a standstill.
Understanding The Basics Of Miter Cuts
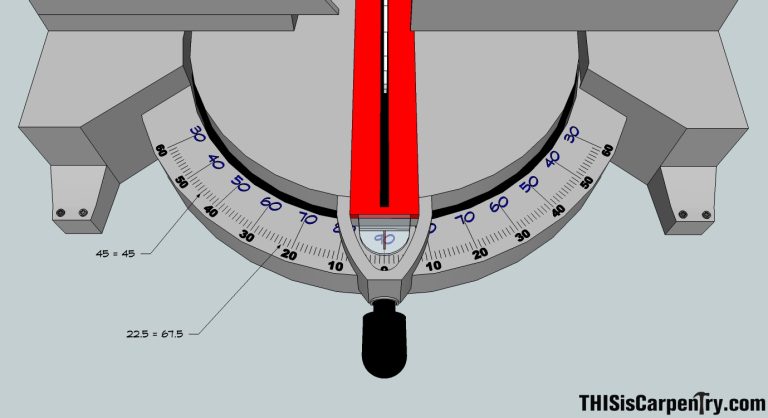
A miter cut is an angled cut to the face of two pieces of material, such as wood or metal, that will join to form a perfect corner. Typically, these cuts are at a 45-degree angle for square frames. Yet, the art of miter cuts extends beyond the simple square; odd angles and complex joinery make it a versatile and invaluable skill in crafting.
The Importance Of Precision In Miter Cuts
Why dwell on precision? A flawless miter cut is the bedrock of a seamless joint. It’s the difference between a snug fit and a gaping imperfection. Precision matters because it ensures that the structural integrity and aesthetic appeal of your project are uncompromised. Fine-tuning your cutting technique to achieve exacting accuracy is thus not just recommended; it’s imperative.
Overview Of Tools Traditionally Used For Miter Cuts
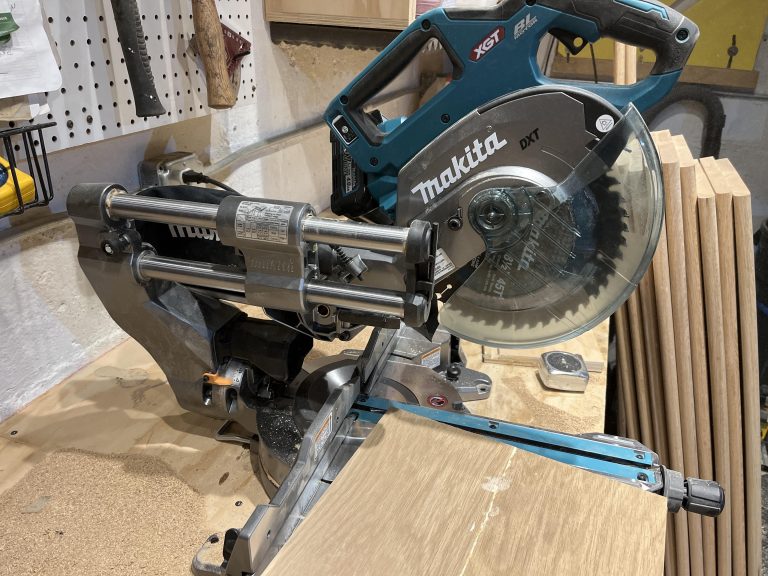
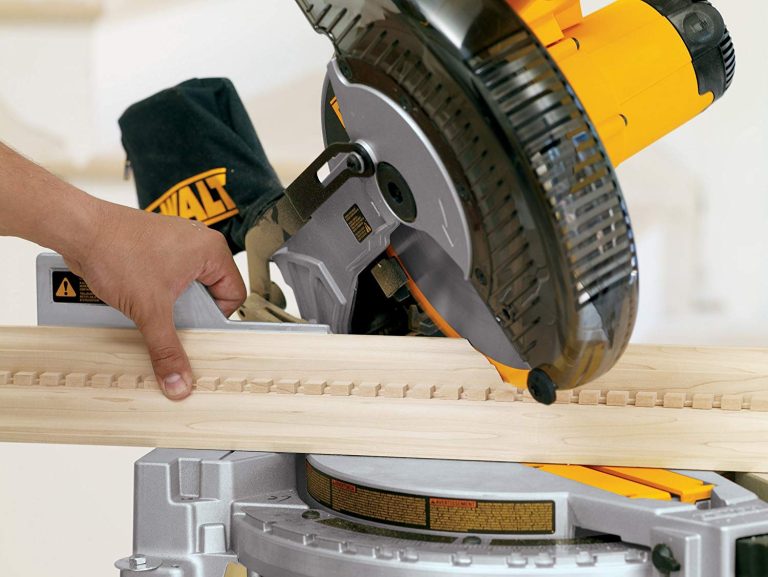
Traditionally, miter cuts are made using a miter saw, a specialized tool designed to make quick, accurate miter cuts and crosscuts. However, not all workshops boast this tool. Other tools such as the miter box paired with a hand saw, or even power tools like a table saw with a miter gauge, come to the rescue. Creative solutions involve the use of power tools complemented with jigs or guides crafted for precision.
Common Tools for Miter Cuts
- Miter Saw: The go-to for ease and accuracy.
- Miter Box & Hand Saw: A manual alternative requiring more effort but providing commendable results.
- Table Saw & Miter Gauge: Versatile and precise with the right setup.
- Circular Saw & Guide Jig: A possible substitute with careful setup.
Ready to challenge the status quo of miter cuts? Keep reading as we guide you step-by-step on how to achieve perfect miter cuts—sans miter saw.
Alternative Tools For Making Miter Cuts
Even without the precision of a miter saw, creating clean, angled cuts in the wood is still possible. For DIY enthusiasts and handypersons, several alternative tools can effectively achieve the same result. Let’s delve into some reliable techniques that utilize tools you may already own.
Using A Handsaw And Miter Box Combo
One classic technique involves a handsaw paired with a miter box, an affordable and effective solution for making miter cuts. A miter box is a three-sided plastic or wood jig with slotted sides to guide the saw at specific angles, typically at 45 or 90 degrees.
- Mark the cutting line on your workpiece.
- Place the workpiece in the miter box, aligning the mark with the relevant slot.
- Hold the piece securely.
- Saw with steady, even strokes, using the slot as your guide.
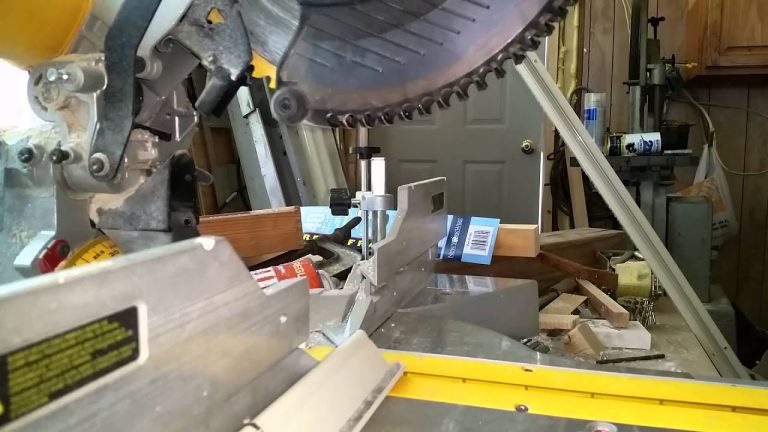
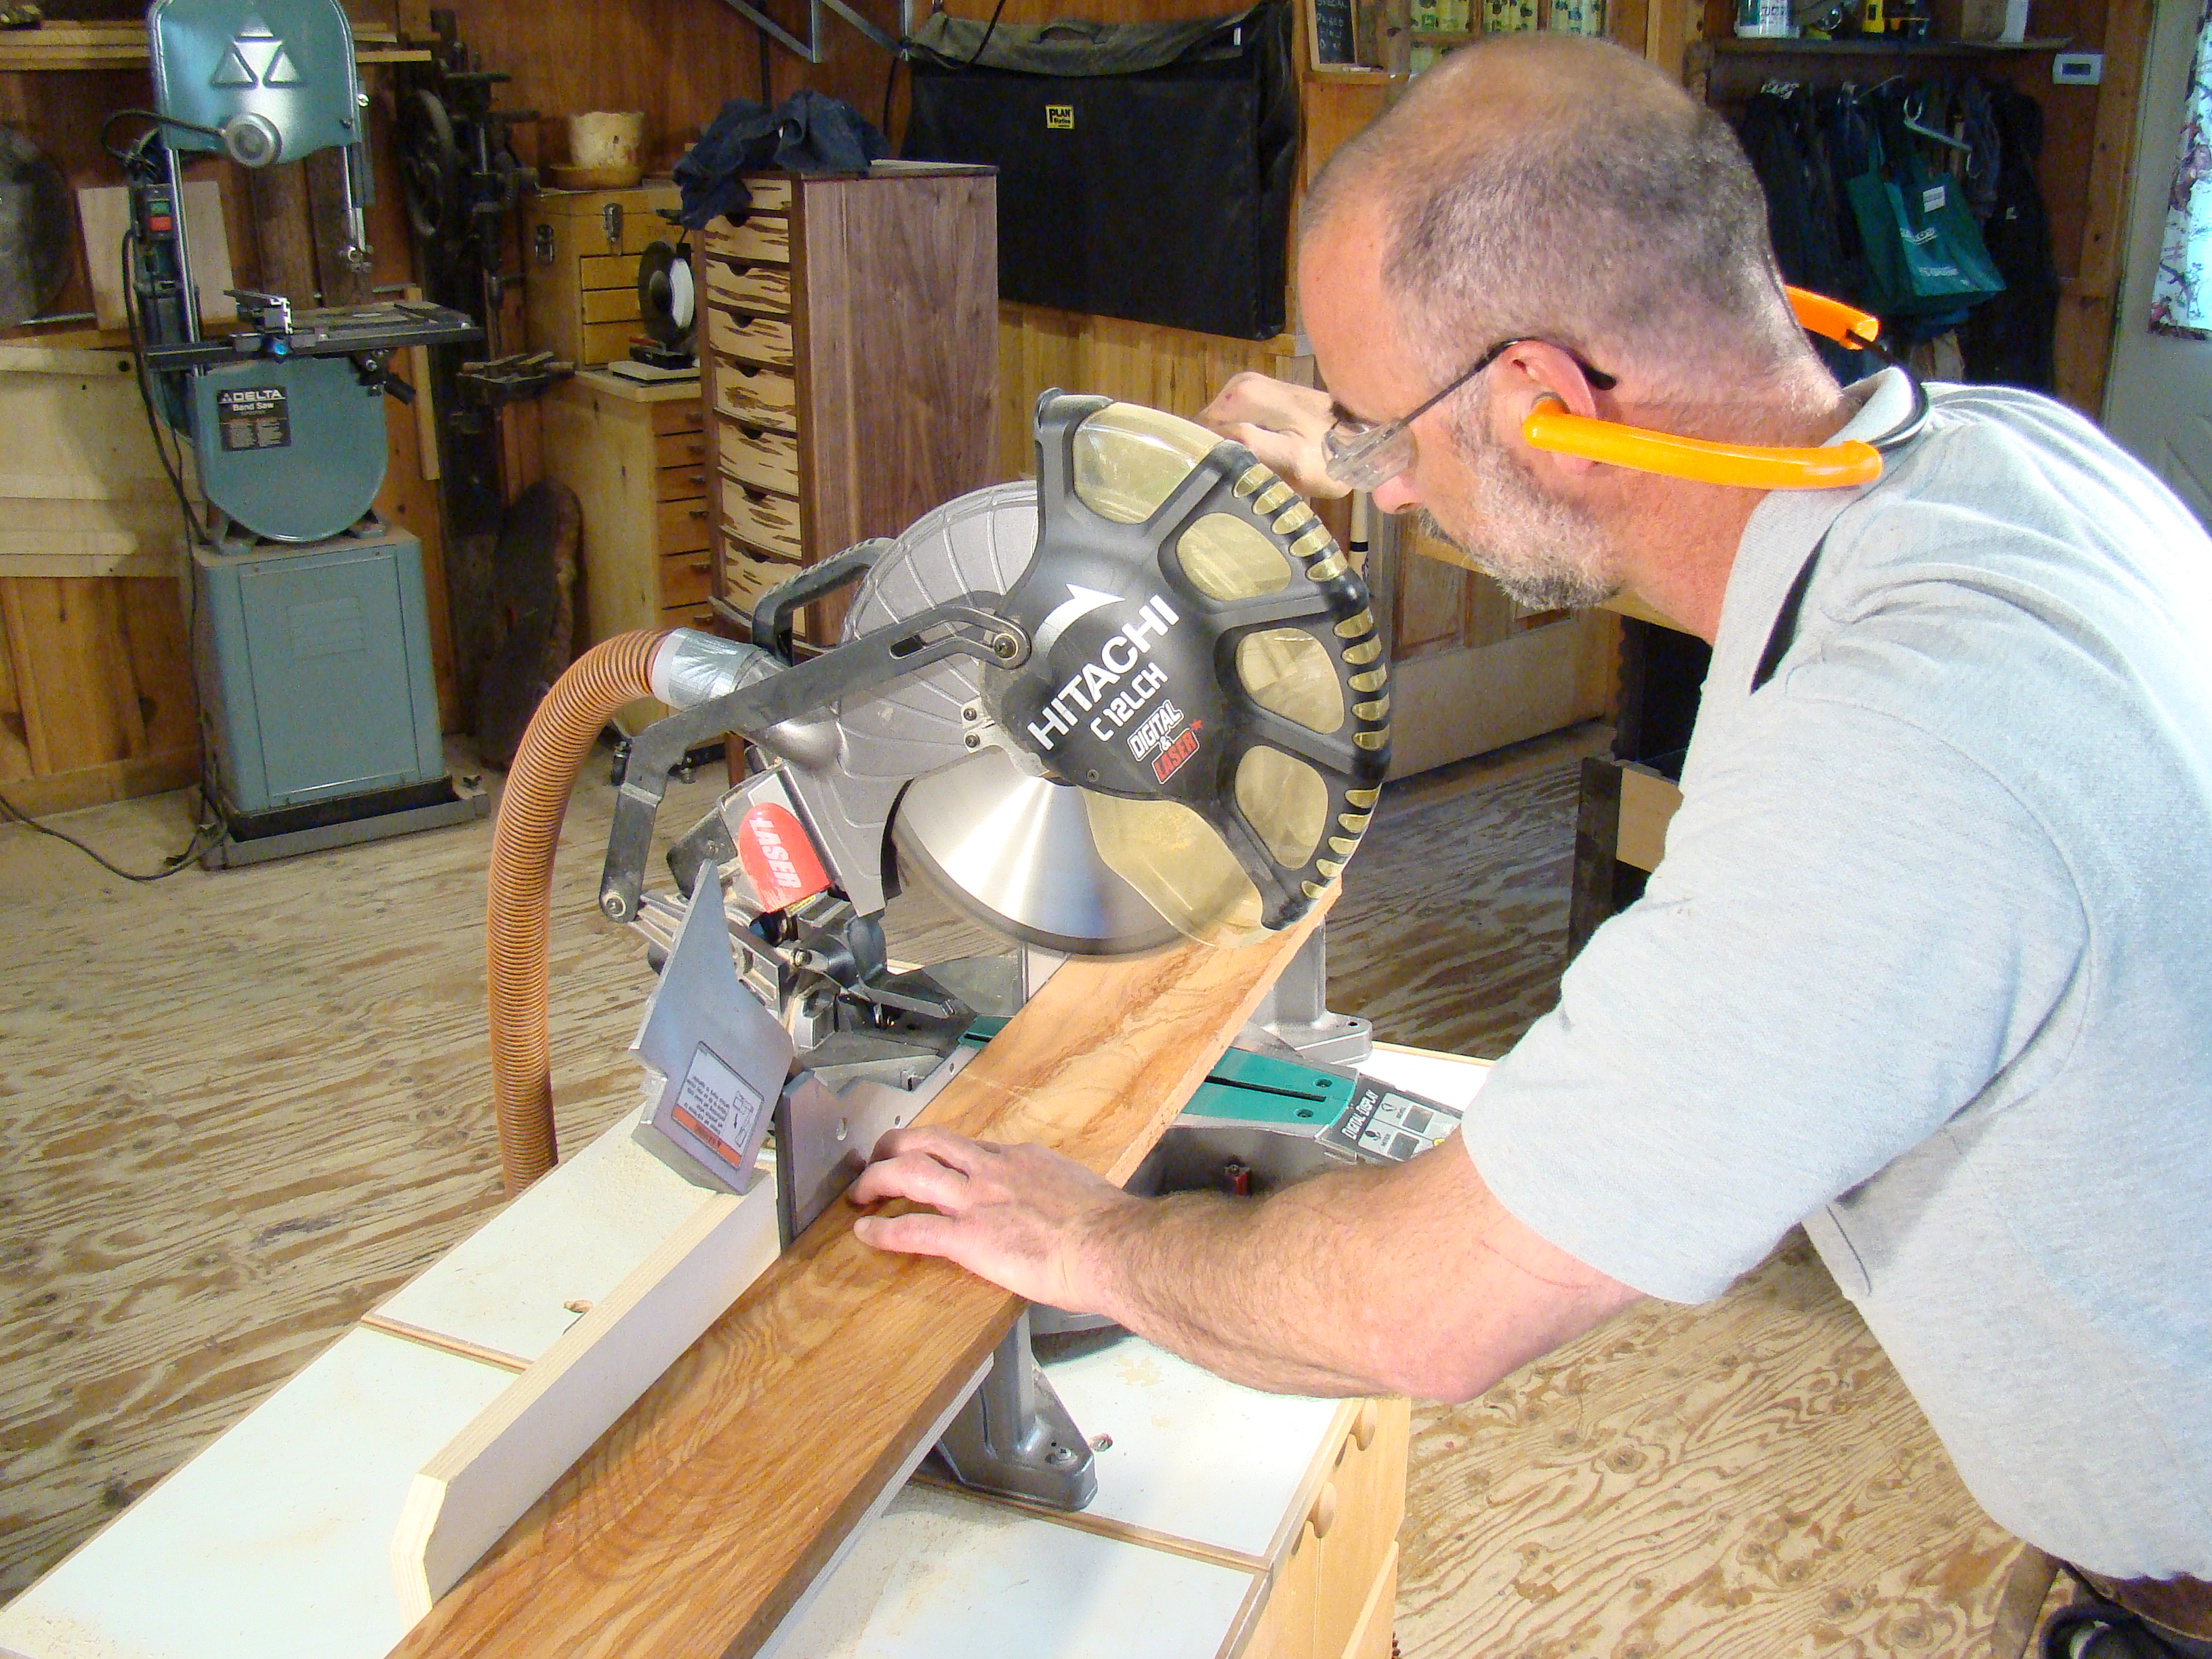
Circular Saw Techniques For Miter Cuts
With the right technique, a circular saw can be used for miter cutting. Accuracy is key, so it’s recommended to use a guide or make a jig to ensure the circular saw blade follows the correct path.
- Measure and mark the cut line accurately.
- Attach a straightedge or clamp down a cut-off piece of wood to serve as a guide along the line.
- Set the blade to the correct miter angle before cutting.
- Keep the saw steady and follow through the material in one fluid motion.
Note: Wear safety goggles and ear protection when operating a circular saw.
Jigsaw: A Versatile Tool For Mitered Corners
A jigsaw, though less conventional, can create miter cuts especially for softer woods or thinner materials. The key is choosing the correct blade and making precise lines.
| Step | Instruction |
|---|---|
| 1 | Secure your workpiece to prevent movement. |
| 2 | Select a jigsaw blade suitable for the material’s thickness. |
| 3 | Draw your desired cut angle on the material. |
| 4 | Align the jigsaw blade with the cut line, starting slowly to gain precision. |
| 5 | Saw through the material, maintaining a firm grip and a steady pace. |
Regardless of the chosen tool, achieving a perfect miter cut requires attention to detail and practice. These alternative methods to a miter saw can be just as effective for your project needs.
Guides And Jigs For Accurate Miter Cuts
Miter cuts are an essential part of woodworking and DIY projects, creating seamless angles for frames, trims, and various corner joineries. But what if a miter saw isn’t within your reach? Fear not! With a bit of creativity and some basic tools, accurate miter cuts are still achievable. Let’s delve into the world of guides and jigs that can help you make precise miter cuts without a miter saw.
Diy Miter Cutting Jigs From Scrap Wood
Crafting your own DIY miter cutting jig is a cost-effective and gratifying way to achieve accurate cuts. All you need is some scrap wood and a few common workshop tools. Here are the steps:
- Cut a base board and a fence from your scrap wood, ensuring they are straight and square.
- Attach the fence to the base at a precise 45-degree angle using screws or an adhesive. Make sure it’s secure!
- Use a square to verify the angle, and if needed, make adjustments.
- Create a kerf within the base by running your saw through the jig, establishing a guide for future cuts.
This simple jig can now guide your hand saw or circular saw to follow a straight, angled path, resulting in clean miter cuts.
Adjustable Miter Cut Guides For Power Saws
Even without a miter saw, other power saws can be harnessed to make miter cuts with the help of adjustable miter cut guides. These guides can be purchased or made with an adjustable angle setting. To use:
- Fix the adjustable guide onto your workpiece, selecting the desired angle.
- Secure the guide and workpiece to prevent any movement during the cut.
- Align your power saw with the guide’s edge and proceed with the cut, holding the saw firmly.
This method offers flexibility and is ideal for making repeated cuts at various angles.
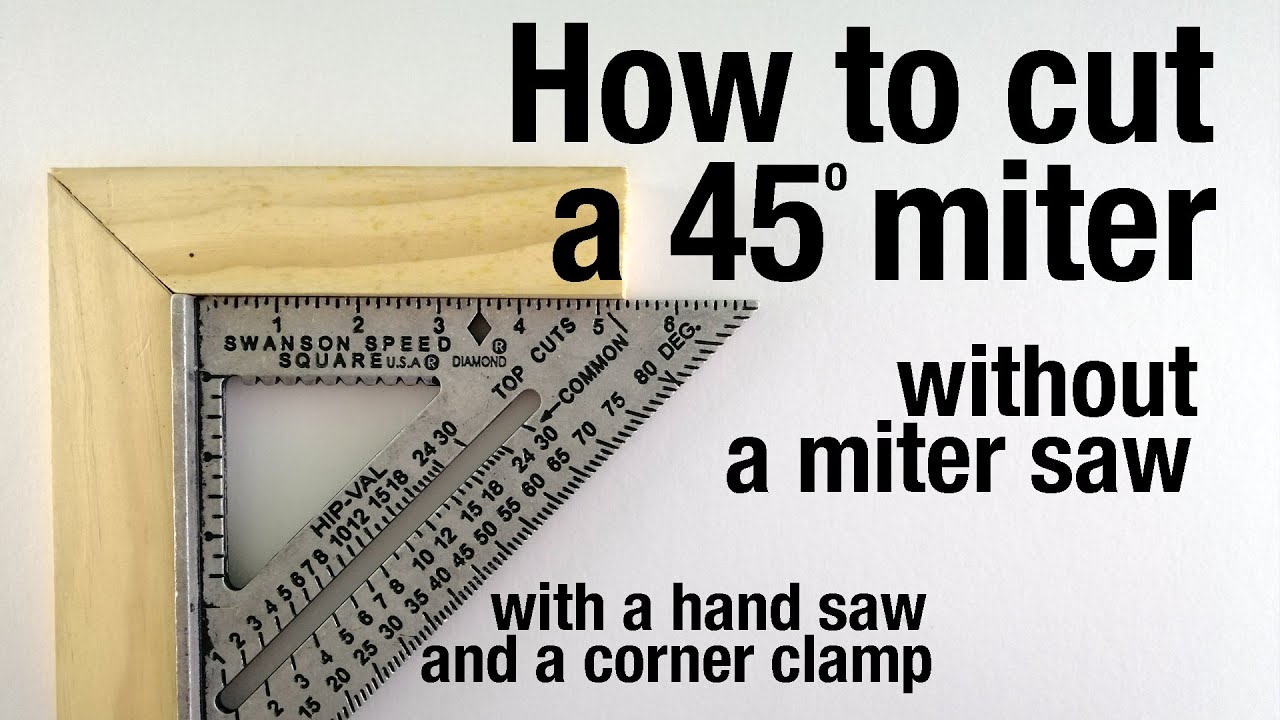
Using A Speed Square For Quick Miter Cuts
The humble speed square, often found in most carpenters’ toolkits, can become your ally for quickly marking and making miter cuts. Here’s how you can do it:
- Place the speed square along the workpiece’s edge.
- Hold the tool at the angle you want to cut – most speed squares will have a 45-degree mark.
- Mark the line along the square’s sloped edge, then remove the square.
- Follow the line with a hand saw or carefully guide a circular saw to complete your cut.
Using a speed square is especially handy for small projects or when you need to make a few quick miter cuts without setting up jigs or guides.

Credit: m.youtube.com
Step-by-step Guide To Making A Miter Cut Without A Miter Saw
Miter cuts create angled ends on wood and other materials, typically used for joining corners in projects like picture frames, door frames, and crown molding. While a miter saw is a go-to tool for such cuts, not everyone has access to one. Fortunately, you can still achieve precise miter cuts with some common workshop tools. This guide will navigate you through the steps necessary for executing a miter cut without a miter saw.
Accuracy is crucial when making a miter cut, so preparation is key. Begin by:
- Determining the length and angle of the miter cut.
- Measuring the workpiece with a reliable ruler or tape measure.
- Double-checking measurements to ensure precision.
Once your piece is measured:
- Use a protractor or an adjustable bevel to mark the desired angle directly onto the workpiece.
- Draw a straight line along the length where the cut will be made using a pencil.
- Ensure the guideline is clear and visible for when you make the cut.
Without a miter saw, you can use a:
| Tool | Technique |
|---|---|
| Hand Saw and Miter Box | Secure the workpiece in the miter box. Follow the appropriate slots to guide your hand saw and make the miter cut. |
| Circular Saw | Set the saw’s bevel function to the required angle. Support the workpiece properly and carefully carry out the cut. |
| Jigsaw | Though less precise, it can be used with a guide to form the angled cut. Patience and a steady hand are required. |
Be aware of safety practices such as wearing safety glasses and keeping fingers away from the cutting line.
After making the cut:
- Sand down any rough edges to smooth the finish.
- Test fit the joint to ensure angles align correctly.
- Make any minor adjustments with a file or sandpaper for a perfect fit.
This step-by-step guide illustrates that even without a miter saw, anyone can achieve precise miter cuts. With the right tools and techniques, you’re ready to tackle your next woodworking project with confidence.
Tips And Tricks For Perfect Miter Cuts
Welcome to the carpenter’s corner where we’re slicing into the art of perfect miter cuts, even without the luxury of a miter saw. Whether you’re a DIY enthusiast or a seasoned woodworker, mastering miter cuts with basic tools is a valuable skill that will elevate your woodworking projects. Let’s chisel through some key tips and tricks to ensure those angles are crisp and your corners come together seamlessly! With the right approach, accuracy is always within reach.
Securing The Workpiece: Clamps And Workbench Setup
Before any cut, the importance of a secure workpiece cannot be overstated. Stability is critical — it ensures not only precision but also safety. Here’s how to properly set up your work station:
- Choose a flat, stable surface for your workbench. Uneven surfaces can lead to inaccurate cuts.
- Utilize clamps to firmly fix the wood in place. For the best grip, use a combination of C-clamps or bar clamps.
- If necessary, attach a cutting guide, such as a straight piece of wood, to sustain a consistent angle along the cut.
Adjusting For Blade Thickness And Kerf
A commonly overlooked aspect of sawing is the kerf — the cut width that the saw blade removes. Compensating for this can be the difference between a good cut and a perfect one. Tips include:
- Measure the kerf of your chosen saw blade before making your cut line. Different blades remove different amounts of material.
- Always mark the line on the waste side of the cut to prevent cutting too much from your workpiece.
- An adjustable square can help to precisely mark off the kerf allowance before sawing.
Coping With Imperfect Angles: Making Adjustments
Seldom do we find walls or corners that are perfectly square, especially in home improvement projects. To achieve impeccable miter cuts:
- Test for fit with scrap pieces first to ensure your angles are correct before cutting your final workpiece.
- Be prepared to make slight adjustments with sandpaper or a file if the angle isn’t quite perfect.
- Consider using a coping saw for inside corners to ensure a tighter fit, even if the angles are imperfect.
Safety Precautions When Making Miter Cuts
When it comes to any type of sawing, safety reigns supreme. Keep these safety tips in mind:
- Always wear safety goggles to protect your eyes from flying debris.
- Keep your hands away from the path of the blade. Use push sticks or other safety tools if necessary.
- Focus on the task at hand. Distractions can lead to mistakes or accidents.
- Ensure good lighting in your work area for visibility and accuracy.
Credit: www.wwgoa.com
Common Mistakes And How To Avoid Them
Mastering the art of miter cuts without a miter saw can be a rewarding challenge for DIY enthusiasts. While this technique allows for great flexibility and skill development, it also presents a set of common mistakes that can lead to less-than-perfect results. The key to success lies in understanding these pitfalls and learning how to avoid them. From overcuts and splintering to consistency and material imperfections, each step demands attention to detail. Stick with us as we guide you through overcoming these common issues, ensuring your hand-crafted miter cuts are as precise and clean as possible.
Avoiding Overcuts And Splintering
Miter cuts require precision, and overcuts can lead to weak joints and an unprofessional finish. Splintering is another common issue, especially when working with delicate materials. To avoid these:
- Mark your cut lines carefully and follow them strictly.
- Use a sharp, fine-toothed hand saw or back saw for cleaner cuts.
- Apply masking tape along the cut line to minimize tear-out and reduce splintering.
- Clamp down your workpiece securely to prevent movement during the cut.
Ensuring Consistent Angles Across Multiple Cuts
Consistency is critical when making multiple miter cuts. Achieve uniform angles by:
- Creating a miter cut template from a reliably squared material for repeated use.
- Double-checking your angle measurements before each cut.
- Using a protractor or angle finder to confirm the angle on your workpiece.
- Always make a test cut on scrap material to ensure your setup produces the correct angle.
Dealing With Material Issues And Imperfections
Materials can present their own challenges, with imperfections that affect the quality of the cut. Address these issues by:
- Inspecting wood for knots, splits, and warps before cutting.
- Choosing the right saw blade for the material you’re cutting. For instance, hardwood requires a different blade than softwood or plywood.
- Pre-drilling the ends of the cut line to prevent splitting in fragile materials.
- Sanding down imperfections post-cut for a smoother finish.
Troubleshooting: When To Re-cut And When To Compensate
Even with the best practices, not all cuts come out perfectly. Deciding between a re-cut and compensation involves:
- Assessing the magnitude of the error. Minor deviations might be fixable with wood filler or slight adjustments.
- Considering the importance of the piece. Is it structurally crucial or just a cosmetic element?
- If the piece is too short, consider using a new piece to avoid compromising the project’s integrity.
- Practicing patience and allowing yourself the possibility of a do-over. It’s often better to take the time to re-cut than to settle for a poor fit.
Conclusion: Mastering The Miter Without The Saw
Mastering the art of the miter cut without the convenience of a miter saw may seem like a daunting task. Yet, it’s an incredibly valuable skill for any DIY enthusiast or woodworking hobbyist. Throughout this guide, we’ve explored various methods and tools that empower you to achieve those perfect angles and tight joins, all without the need for a specialized miter saw.
Review Of Key Takeaways For Miter Cuts
Before you embark on your journey of miter mastery, let’s summarize the essential takeaways:
- Understanding the basics: Familiarizing yourself with standard miter angles is crucial, as is having a solid grasp of the project requirements.
- Marking accurately: Use a combination square or angle finder to mark your cuts meticulously.
- Choosing the right tools: Handsaws, circular saws, or jigs can all be utilized effectively for miter cuts.
- Securing the workpiece: Always ensure your material is clamped firmly to avoid any movement during the cutting process.
- Practice makes perfect: Each method requires patience and practice to refine your technique.
Encouragement To Practice And Develop Skills
Practice is the cornerstone of any craft, and making skilled miter cuts by hand is no exception. As you grow more comfortable with the various techniques discussed, you’ll find your confidence and precision naturally increasing. Be patient with yourself and remember that every expert was once a beginner. Each project you complete will contribute immeasurably to honing your proficiency.
Future Possibilities: When To Invest In A Miter Saw
While becoming adept at manual miter cuts is rewarding, there comes a time when investing in a miter saw might be beneficial. Consider a miter saw when:
- The scale of projects amplifies: Large or numerous cuts could justify the purchase.
- Consistency is key: Repetitive work requires the uniformity a miter saw can provide.
- Time-efficiency: A miter saw can greatly reduce the time spent on cutting.
- Complex craftsmanship: For intricate projects, the precision of a miter saw is invaluable.
Until then, continue developing your manual miter cut skills and know that these techniques serve as an excellent foundation for future woodworking endeavors.
Credit: diy.stackexchange.com
Frequently Asked Questions Of How To Make Miter Cuts Without A Miter Saw?
Can You Make Miter Cuts Without A Miter Saw?
Yes, you can make miter cuts without a miter saw by using a hand saw with a miter box or by carefully marking and cutting the angle with a circular saw.
What Can I Use If I Don’t Have A Miter Saw?
For cutting angles without a miter saw, use a circular saw, handsaw with a miter box, or a jigsaw. Adjustable bevel gauges can guide accurate hand cuts.
How Do You Cut Mitres By Hand?
Mark your cut line at the desired angle using a mitre square. Secure the wood in a vice or with clamps. Use a fine-toothed saw, holding it at the marked angle. Saw smoothly along the line, then refine the edge with sandpaper for precision.
How Do You Cut Trim Without A Miter Saw?
To cut trim without a miter saw, use a hand saw and a miter box for precision angles. Measure and mark your trim, secure it within the miter box, then saw along the guided slots. Always wear safety gear and work carefully to ensure clean cuts.
Conclusion
Crafting miter cuts without a miter saw might seem daunting, yet it’s achievable with the right techniques and tools. Our guide has demonstrated alternative methods that ensure precision and excellence in your woodworking projects. Embrace these creative solutions and you’ll master intricate cuts, even without specialized equipment.
Keep practicing, and the art of making precise miter cuts will soon be second nature.
{ “@context”: “https://schema.org”, “@type”: “FAQPage”, “mainEntity”: [ { “@type”: “Question”, “name”: “Can you make miter cuts without a miter saw?”, “acceptedAnswer”: { “@type”: “Answer”, “text”: “Yes, you can make miter cuts without a miter saw by using a hand saw with a miter box or by carefully marking and cutting the angle with a circular saw.” } } , { “@type”: “Question”, “name”: “What can I use if I don’t have a miter saw?”, “acceptedAnswer”: { “@type”: “Answer”, “text”: “For cutting angles without a miter saw, use a circular saw, handsaw with a miter box, or a jigsaw. Adjustable bevel gauges can guide accurate hand cuts.” } } , { “@type”: “Question”, “name”: “How do you cut mitres by hand?”, “acceptedAnswer”: { “@type”: “Answer”, “text”: “Mark your cut line at the desired angle using a mitre square. Secure the wood in a vice or with clamps. Use a fine-toothed saw, holding it at the marked angle. Saw smoothly along the line, then refine the edge with sandpaper for precision.” } } , { “@type”: “Question”, “name”: “How do you cut trim without a miter saw?”, “acceptedAnswer”: { “@type”: “Answer”, “text”: “To cut trim without a miter saw, use a hand saw and a miter box for precision angles. Measure and mark your trim, secure it within the miter box, then saw along the guided slots. Always wear safety gear and work carefully to ensure clean cuts.” } } ] }