How to Transport a Table Saw?
To transport a table saw, ensure it is properly secured using straps and padding materials. Disassemble any removable parts, such as the blade, fence, and miter gauge, to prevent damage during transportation.
Table saws are indispensable tools for woodworking enthusiasts and professionals alike. Whether you need to move your table saw to a new workshop, job site, or for storage, ensuring its safe transportation is crucial to prevent costly damages. A table saw is a substantial piece of equipment, often weighing a few hundred pounds, and its bulky size can pose a challenge when it comes to transportation.
However, by following a few simple steps and insuring proper handling, you can transport your table saw without any mishaps. We will guide you on how to securely transport a table saw to its new location while minimizing the risk of damage.
Choosing The Right Vehicle
When it comes to transporting a table saw, choosing the right vehicle is crucial. A table saw is a heavy and bulky piece of equipment that requires careful consideration to ensure safe transportation. In this section, we will explore the factors you need to consider when selecting the right vehicle for transporting your table saw.
Consider The Size And Weight Of The Table Saw
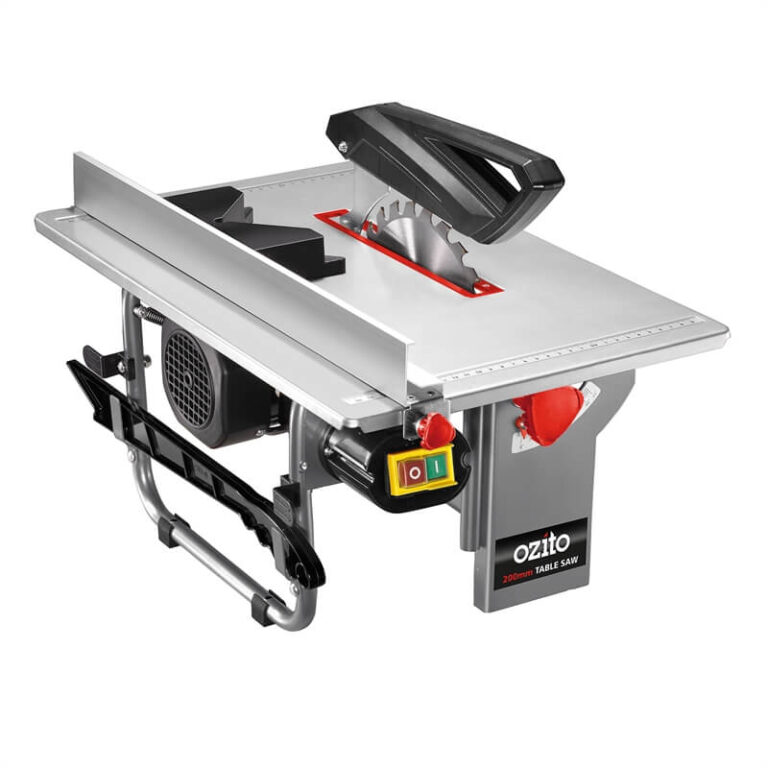
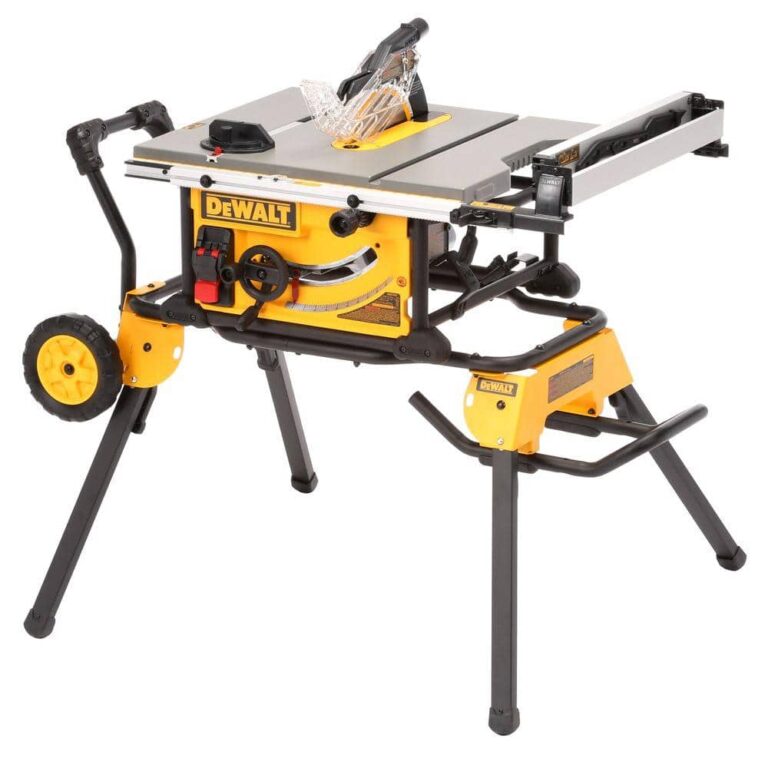
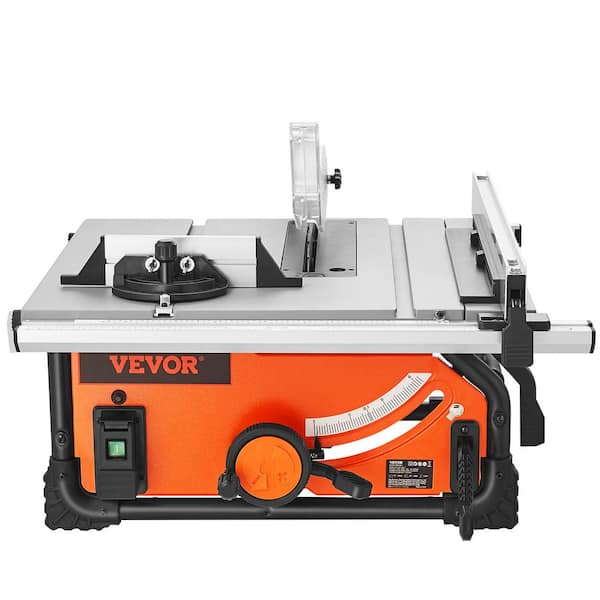
Before choosing a vehicle, it’s essential to consider the size and weight of your table saw. Table saws come in various sizes, from compact portable models to large cabinet saws. Manufacturers usually specify the dimensions and weight of the table saw in the product manual or website. Take note of these specifications, as they are crucial in determining the vehicle’s suitability for transporting the saw.
Assess The Vehicle’s Cargo Capacity And Dimensions
Once you have the dimensions and weight of your table saw, you need to assess the cargo capacity and dimensions of the vehicle. Whether you own a pickup truck, van, or SUV, knowing the cargo capacity is vital to ensure your table saw fits comfortably. Look for the vehicle’s payload capacity, which indicates the maximum weight the vehicle can carry. Additionally, consider the dimensions of the cargo space, including height, width, and length, to ensure that the table saw fits without any issues.
| Vehicle | Cargo Capacity (lbs) | Cargo Space Dimensions |
|---|---|---|
| Pickup Truck | 1500 | 6.5 ft x 5 ft x 3 ft |
| Van | 2500 | 8 ft x 4 ft x 4 ft |
| SUV | 1000 | 4.5 ft x 4 ft x 2.5 ft |
Determine If Additional Equipment Or Modifications Are Necessary
In some cases, your chosen vehicle may require additional equipment or modifications to transport the table saw safely. For instance, you might need to install tie-downs or straps to secure the table saw during transit. Alternatively, you might need to remove seats or make adjustments to create enough space for the table saw. Evaluate your vehicle and consider any necessary enhancements or modifications to ensure a smooth and secure transportation process.
Transporting a table saw is not a task to be taken lightly. By considering the size and weight of the saw, assessing the vehicle’s cargo capacity and dimensions, and determining if any modifications are necessary, you can choose the right vehicle that ensures the safe and hassle-free transportation of your table saw.
Securing The Table Saw
Transporting a table saw can be a challenging task, but securing it properly is essential to ensure its safety during transit. Using proper restraints and tie-downs, protecting the table saw from vibration and impact, and safeguarding against shifting are crucial steps to follow. In this section, we will explore each of these measures in detail.
Using Proper Restraints And Tie-downs
When it comes to securing a table saw, using appropriate restraints and tie-downs is crucial. These items help keep the saw in place and prevent it from sliding or shifting during transport. Here are a few key guidelines to follow:
- Choose high-quality straps: Invest in durable and reliable ratchet straps or bungee cords that can withstand the weight of the table saw.
- Cross-strap the saw: Place the straps diagonally across the table saw to provide maximum stability.
- Ensure tightness: Tighten the restraints firmly, but avoid over-tightening to prevent any damage to the saw.
- Regularly check the restraints: During transit breaks, inspect the straps for any loosening and re-tighten if necessary. This will help maintain the security of the table saw.
Protecting The Table Saw From Vibration And Impact
During transportation, the table saw is susceptible to vibration and impact, which can potentially harm its delicate components. Here are some effective ways to protect the table saw from vibration and impact:
- Wrap fragile parts: Use padding material, such as foam or bubble wrap, to cover the vulnerable parts of the table saw, such as the fence and miter gauge.
- Secure the blade: Lock the blade in its lowest position and protect it further by covering it with a blade guard or a piece of sturdy cardboard.
- Place in a stable position: Position the table saw on a flat and stable surface within the transporting vehicle to minimize vibrations.
Safeguarding Against Shifting During Transit
To ensure the table saw stays securely in place during transit and doesn’t shift, consider these measures:
- Use padding between the saw and vehicle: Place non-slip rubber mats or towels underneath the table saw to prevent it from sliding and shifting within the vehicle.
- Utilize blocks or wedges: Wedge wooden blocks around the table saw to prevent it from moving sideways or front to back.
By following these useful measures, you can significantly reduce the risks associated with transporting a table saw. Taking the time and effort to secure the saw properly ensures its safety and integrity throughout the journey.
Disassembling The Table Saw
When it comes to transporting a heavy and bulky tool like a table saw, disassembling it can make the process much easier and safer. Before you start disassembling, gather all the necessary tools such as a wrench, screwdriver, and label stickers for storing the components properly. In this section, we will cover the step-by-step process of disassembling a table saw.
Removing The Table Saw’s Blade And Accessories
The first step in disassembling a table saw is to remove the blade and any accessories attached to it. Follow these steps:
- Turn off the table saw and unplug it from the power source.
- Make sure the blade is fully raised and lock the arbor to prevent it from spinning.
- Using a wrench, loosen the nut or bolts holding the blade in place.
- Remove the blade carefully, making sure to place it in a safe and padded area to avoid any damage.
- If there are any additional accessories attached to the blade, such as a riving knife or blade guard, remove them following the manufacturer’s instructions.
Detaching The Fence And Any Other Removable Parts
After removing the blade and accessories, it’s time to detach the fence and any other removable parts. Here’s how:
- Ensure the table saw is turned off and unplugged from the power source.
- Locate the locking mechanism for the fence and release it to unlock the fence.
- Slide the fence away from the table saw carefully until it is fully detached.
- If there are any additional removable parts, such as miter gauges or featherboards, remove them by loosening any screws or bolts.
- Keep all the detached parts together, labeling them if necessary for easier reassembly later.
Storing And Labeling The Components Properly
Properly storing and labeling the disassembled components of the table saw is essential to ensure a smooth reassembly process. Follow these guidelines:
- Choose a secure and organized storage area for the components, such as a sturdy box or container.
- Place the table saw blade and accessories in a padded or protected section of the storage area to prevent any damage.
- Label each component using separate label stickers or tags, indicating their corresponding parts.
- Consider taking pictures or making notes of the disassembly process to aid in reassembly later.
By disassembling your table saw properly and storing its components safely, you can transport it more easily without worrying about any damage. Follow these steps in reverse order when reassembling the table saw at its new location.

Credit: www.pinterest.com
Packing And Loading The Table Saw
Transporting a table saw requires careful planning and attention to detail. Properly packing and loading the saw ensures its safety during transit, preventing any damage that could affect its performance. In this section, we will explore the necessary steps to wrap the table saw in protective materials, position it securely in the vehicle, and minimize movement to maximize stability.
Wrapping The Table Saw In Protective Materials
Before loading the table saw, it is crucial to wrap it in protective materials to prevent any scratches or impact damage. Here are the steps to follow:
- Start by unplugging the table saw and detaching any loose accessories or attachments.
- Clean the table saw thoroughly to remove any debris or dust that could potentially cause damage during transportation.
- Next, gather some bubble wrap or moving blankets to provide an extra layer of protection.
- Wrap the entire table saw tightly in the bubble wrap or moving blankets, paying extra attention to the exposed parts such as the blade and fence.
- Secure the wrapping with packing tape to keep it in place, ensuring no loose ends are left that could become entangled during transport.
Positioning The Table Saw Securely In The Vehicle
Once the table saw is adequately wrapped, the next step is to position it securely in the vehicle to avoid any unnecessary movement or potential damage. Follow these recommendations:
- Ensure that the vehicle being used is large enough to accommodate the table saw without overcrowding the space.
- If possible, use a pickup truck or a vehicle with a spacious cargo area to provide enough room for the table saw and other equipment if applicable.
- Place the table saw in an upright position to prevent it from toppling over during transit.
- If necessary, use straps or bungee cords to secure the table saw to the vehicle’s walls or anchor points, ensuring it remains stable throughout the journey.
- Remember to position the table saw away from any heavy objects or other tools to prevent potential collisions.
Minimizing Movement And Maximizing Stability
To ensure the table saw remains stable and secure during transport, minimizing movement is crucial. Follow these steps:
- Double-check that the table saw is firmly secured within the vehicle and does not have any room to shift or slide around.
- Place additional padding or cushions around the table saw to further reduce any potential movement.
- If using a pickup truck, consider using a non-slip mat or rubberized liner to provide extra traction and stability.
- Take caution while driving, especially around sharp turns or uneven road surfaces, to maintain a smooth and stable ride for the table saw.
By following these guidelines, you can safely transport your table saw to its destination without worrying about any damage or performance issues. Take your time to pack and load the table saw correctly, ensuring each step is executed with care and attention to detail.
Unloading And Reassembling The Table Saw
Transporting a table saw can be a tricky task, but with proper planning and execution, you can safely unload and reassemble it in no time. In this section, we will guide you through the process, addressing key steps you need to follow to ensure a smooth transition from vehicle to workshop. Therefore, it is crucial to safely remove the table saw from the vehicle, reassemble it in its original configuration, and perform necessary checks and adjustments before use. Read on to learn more!
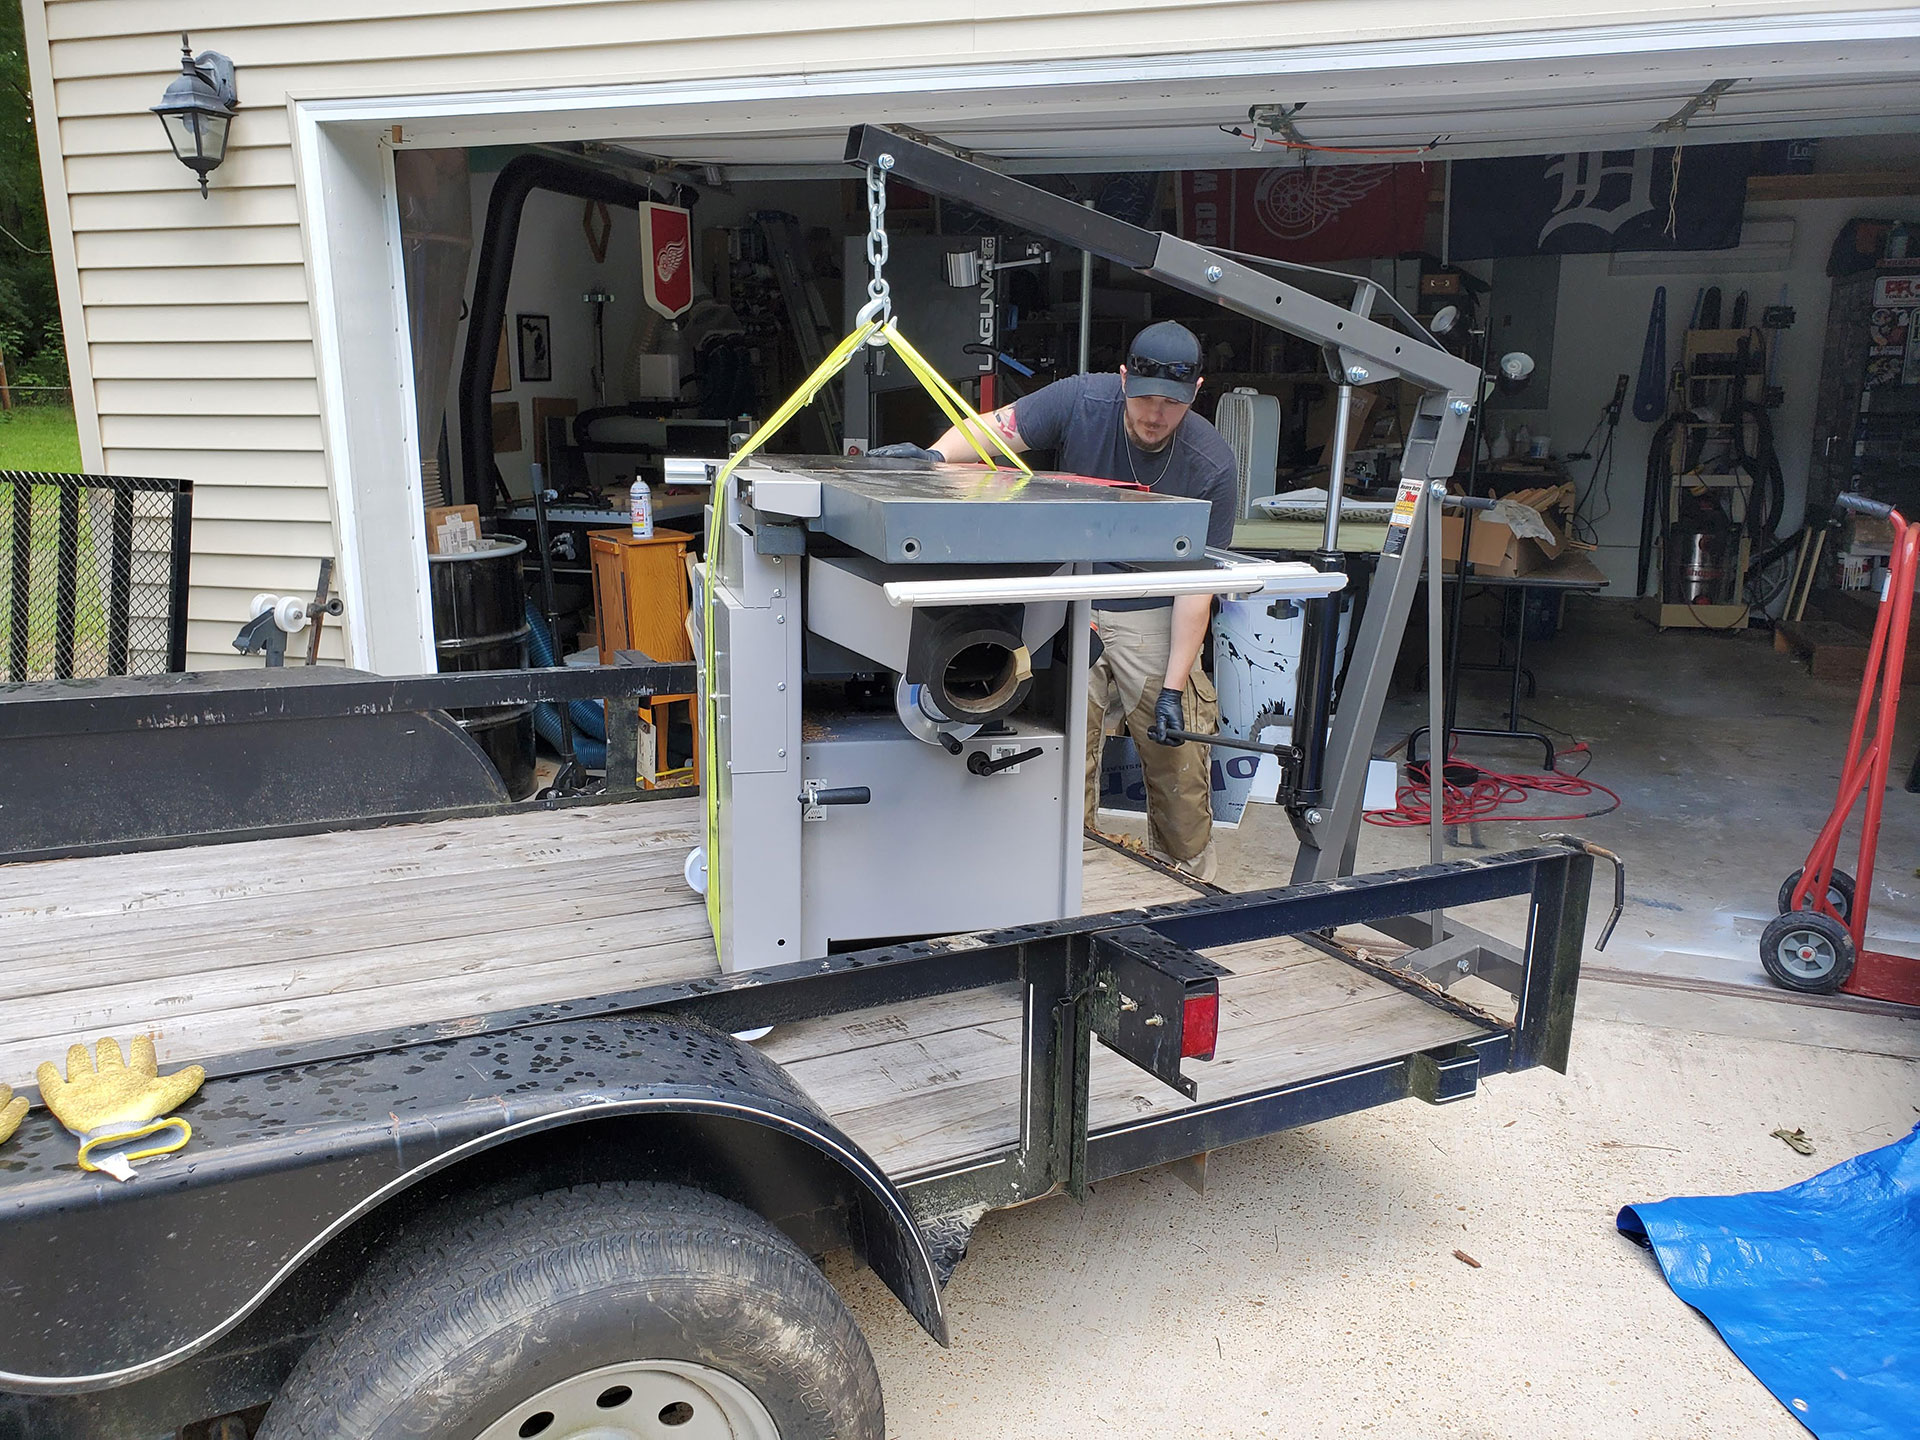
Safely Removing The Table Saw From The Vehicle
When it comes to removing the table saw from the vehicle, safety should always be your top priority. Follow these steps to ensure a safe and hassle-free unloading process:
- Prepare a clean and spacious area in your workshop where you can easily maneuver the table saw.
- Clear the path from the vehicle to the workshop, removing any obstacles that may hinder the transportation process.
- Place a sturdy, non-slip mat or plywood on the ground to ensure stability when unloading the table saw.
- Enlist the help of a partner to assist you with the unloading process, especially if the table saw is heavy or bulky.
- Carefully lift the table saw, making sure to distribute the weight evenly between you and your partner.
- Slowly and steadily, lower the table saw onto the non-slip mat or plywood, ensuring it is stable and secure.
- Once the table saw is safely on the ground, carefully remove any straps or restraints that were used to secure it during transit.
Reassembling The Table Saw In Its Original Configuration
Now that you’ve safely unloaded your table saw, it’s time to reassemble it in its original configuration. Follow these steps to ensure a proper reassembly:
- Refer to the manufacturer’s instructions or user manual for guidance on reassembling the table saw.
- Start by positioning the base of the table saw in the desired location in your workshop.
- Carefully lift the tabletop and align it with the base, ensuring a secure fit.
- Attach the tabletop to the base using the provided screws or fasteners, following the manufacturer’s recommended tightening specifications.
- Double-check all connections and make sure they are secure. Tighten any loose screws or fasteners if necessary.
- Reattach any removable accessories, such as the fence or miter gauge, ensuring they are properly aligned and secured.
- Inspect the entire table saw to ensure it is reassembled correctly and in its original configuration.
Performing Necessary Checks And Adjustments Before Use
Before firing up your freshly reassembled table saw, it’s important to perform a few necessary checks and adjustments to ensure optimal safety and functionality. Follow these steps:
- Inspect the blade to ensure it is properly aligned and tightened. If necessary, adjust the blade alignment using the manufacturer’s recommended procedure.
- Check the rip fence for squareness and adjust it if needed.
- Ensure all safety features, such as the blade guard and anti-kickback pawls, are in place and functioning correctly.
- Verify that the power switch and emergency stop button are easily accessible and in proper working order.
- Check the alignment of the miter gauge slots and make any necessary adjustments.
- Test the dust collection system to ensure it is working effectively, minimizing airborne debris.
- Finally, perform a test cut on scrap wood to verify that the table saw is cutting accurately and smoothly.
By following these steps to safely unload, reassemble, and perform necessary checks and adjustments before use, you can be confident that your table saw is ready for action. Remember, always prioritize safety and consult the manufacturer’s instructions or user manual for specific guidance on your table saw model. Happy woodworking!
Conclusion
To sum up, transporting a table saw can be a daunting task, but with the right precautions and planning, it can be done safely and efficiently. Remember to disassemble the saw, secure all loose parts, and use proper padding and strapping during transportation.
Additionally, considering the weight of the saw and using appropriate equipment like dollies or ramps can make the process smoother. By following these guidelines, you can ensure that your table saw arrives at its destination in excellent condition. Happy transporting!